Honda XR280R Build
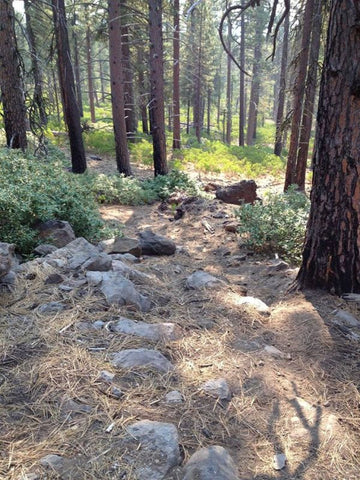
The story of this build started back in 2011 when I was vainly attempting to ride my cumbersome XR650L on a singletrack ride... with a bunch of faster riders... all of them on lighter bikes. This ride was in the winter, so the trails were super greasy, not helping my efforts. It looked like this:
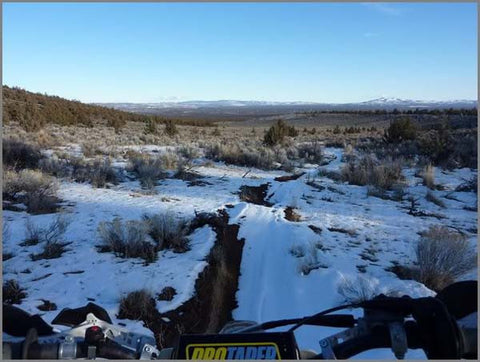
After trying to keep that thing in a narrow little groove for four hours, it was painfully clear I needed a different bike. Something lighter, more agile, but also easier for my aging desk jockey reactions to deal with, and something with a plate so I could connect trails. I created a shortlist with several models, and started looking.
I was looking for the usual models, 250 and 450 4ts, preferably a Honda, but it did not have to be. At some point I heard about a blown up XR250R down in Sacramento with a motivated seller. It was not the first bike on my list, in fact, it was not on my list at all. But, I looked around, and found that a few guys raced them with some success, winning Nationals and medaling in some ISDEs. The fact that it needed some work was not a deterrent, and the fact it had a cheap asking price was like a siren song to me.
The bike did not run, and the seller wanted to cut a deal over the phone. It was fairly new, in great condition, but he thought it burned the top end or something serious. He wanted me to commit sight unseen, so we haggled a bit, and came to a deal. I hopped in the truck, drove down from Bend, and bought it. It was a bit neglected but had very little use:
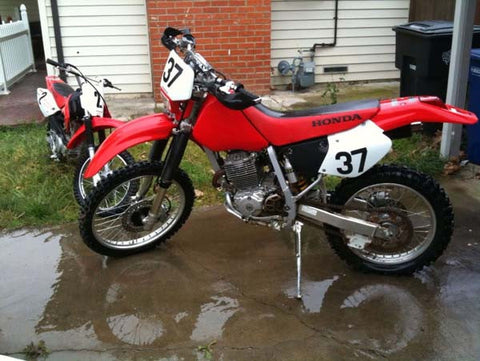
After getting it home, I powerwashed it and took it to a local shop to diagnose. After just one day, the tech gave me a call to deliver the news. Like many skilled mechanics, he is a man of very few words.
"Your bike is ready."
"What do you mean "ready"?"
"I mean it's running."
"Huh?"
"Yea, running."
"How? Isn't it blown up?"
"Nope. Pilot jet fell out. Put it back in and it fired right up."
I was pretty happy.
To keep this moving, I need to skip ahead here. I happily rode and modded the heck out of the little XR for two years. It hauled my fairly large ass, quite well, through woods, desert, and of course, lots of singletrack. 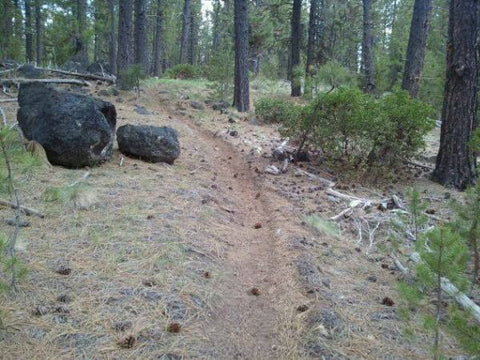
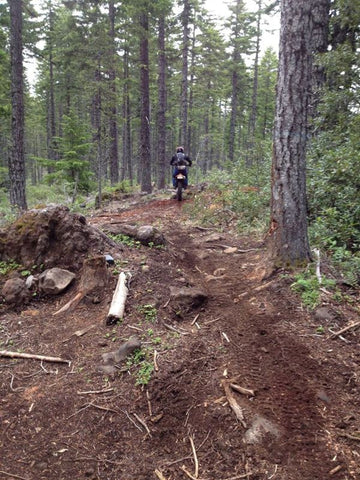
Sweetness.....
The bike initially started out fairly boring and stock. Over time (and a bucket or two of money), it evolved into this: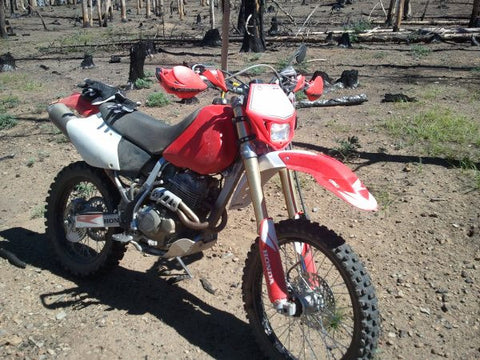
I had added a 280cc kit, upping the compression, ported the head, added CRF250X forks, added an FCR pumper carb, reverted and removed the FCR pumper carb, lengthened, resprung, and revalved the rear shock twice, resprung and revalved the forks (three times), tried a bunch of tires, added Bib Mousse's, recoiled on horror at replacing the Bib Mousse's, and added a bunch of bolt ons. Most importantly the time I took to tinker with the suspension really paid off, it was not perfect but worlds better than stock. The bikes torque-y motor and short wheelbase made it easy to ride and super fun, particularly in the woods.
Then......on a particularly nice day of terrific PNW riding, this happened: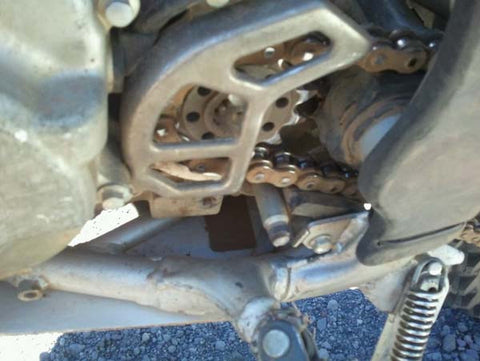
OH SNAP.......a broken shift shaft!! Minor damage, but the repair is not minor at all, it requires splitting the cases. Me, being the mod addict that I am, took this as an opportunity to build XR280R version 3.0.
The first step was to gut my poor little buddy: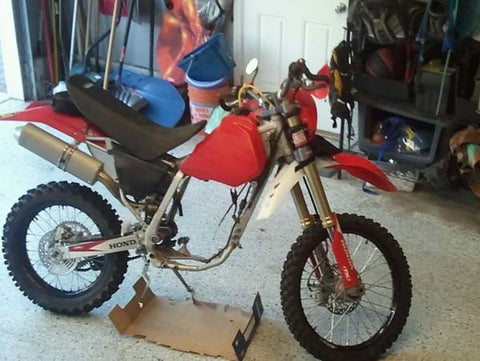
A 2nd frame, with a street legal title was secured, reinforced, reworked for CRF forks, and powdercoated. The XR is a dry-sump engine design, holding some of its oil in the frame. It was critical that every. last. molecule. of sandblast grit be cleaned from it.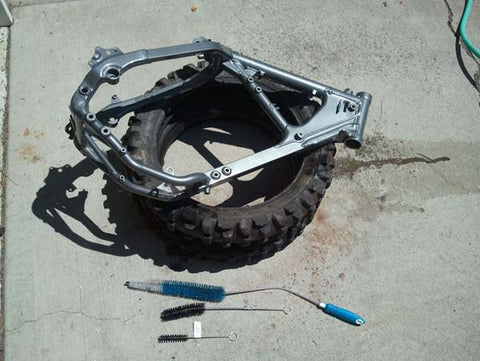
I also took the time to clean or replace almost every bit and piece. Every bolt was wire wheeled, every bearing and seal replaced, every wire connector cleaned, new cables, etc. On reassembly, everything was greased, Loctited, and / or torqued. Some parts, like the shocks and forks, would be serviced after the bike was reassembled. To keep organized, I set up the two units side by side: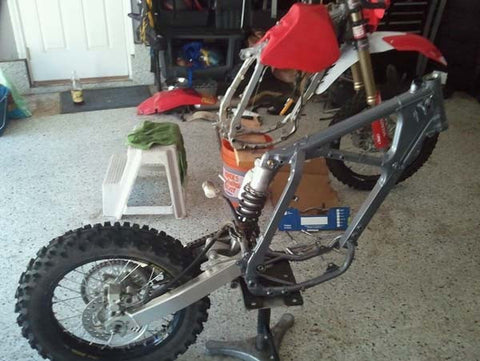
The rolling chassis would get new front and rear tires, springs, and plastics.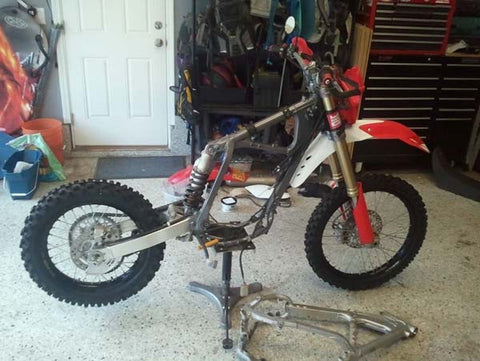
Details: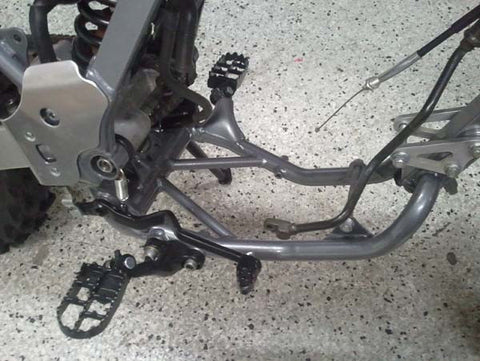
I had a gouge in the original tank, it did not leak but did concern me. Along the way I found a new white tank from a 96, so I decided to go with a mix of white and red plastics. The look is nice, makes it look more modern. Here, the rolling chassis is ready to go back to the shop for assembly.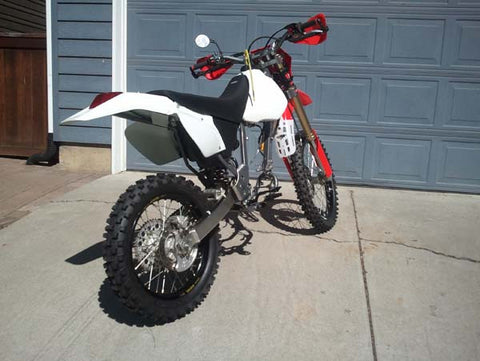
Since the cases were apart, I planned to have them machined to accept a larger sleeve for a 300 kit. However, there was some question whether the 300 kit, which has low compression, is really stronger than the 280 kit, which has higher comp. I decided to pass, but followed through to paint the center cases. For prep, I set up some buckets of solvent to soak off 2 years of dirt and cooked Northwest sap: 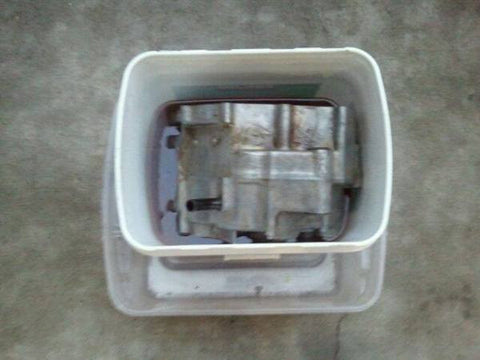
One bucket was carb dip, the other Pine Sol. The Pine Sol was not bad, whereas if I never have to use that nasty toxic carb dip again, I will be happy. The before and after: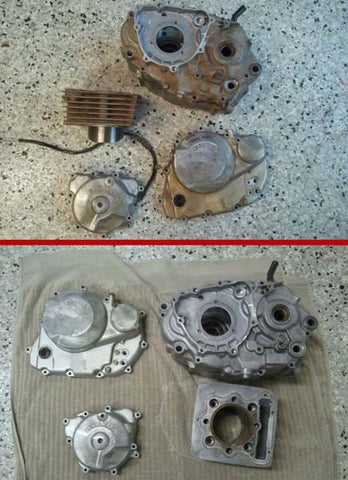
Got some throwaway screws from Ace, to bolt the cases together. Gave it one more clean, then CAREFULLY taped it up and sprayed: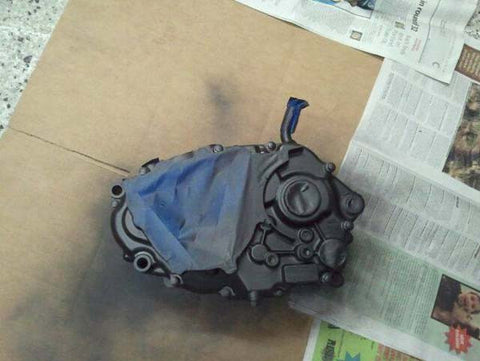
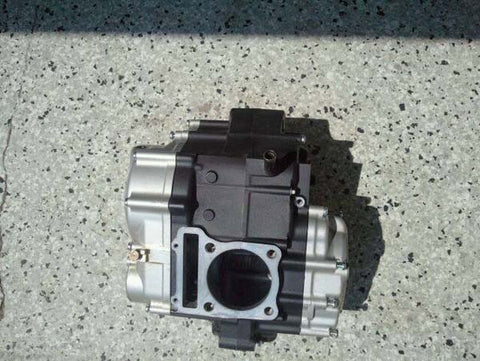
The final result looks good in the picture, but was not very durable, and would have looked bad after 2 or three rides. When you get this deep into a project, it is unwise to cut corners. I know this, but was a little torn because the good riding season had arrived. Still, I decided to @*^#!! do it over.
After some checking, I found a local place that does a high temp ceramic coating. THIS TIME, it came out much better: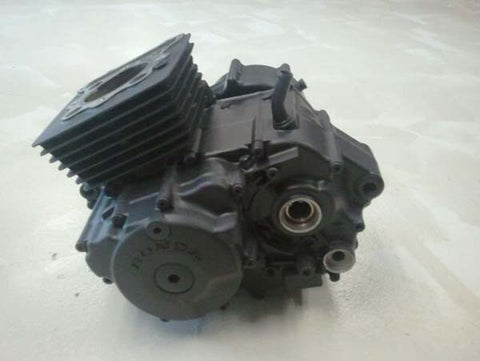
The Ceramic coating is applied by a local company here called Commercial Ceramic. This material is much better for this application than regular powdercoat, as it is highly heat resistant and super durable. It also has a nice uniform finish that looked terrific.
I am fairly technical, but I leave bottom end reassembly to pros (so I do not have to do it over....). So, I dropped the cases and rolling chassis off back at M-Tech. Here is where another time / money setback popped up.
I had replaced the OE valves with premium Kibblewhite units about 100 hours earlier. The OEs were not worn, but Kibs are supposed to much more durable. Anyway, while I was cleaning the head, I squirted some contact cleaner into the intake passage. It quickly - too quickly - seeped out of one of the intake valves. I mentioned this to Matt at M-Tech, he being the detail guy he is, checked the valves....bad news. For some reason, my pricey Kibblewhite valves were mushroomed, and needed to be replaced. THIS TIME, I went for OEs again. To complete the top end, a fresh JE 280 piston: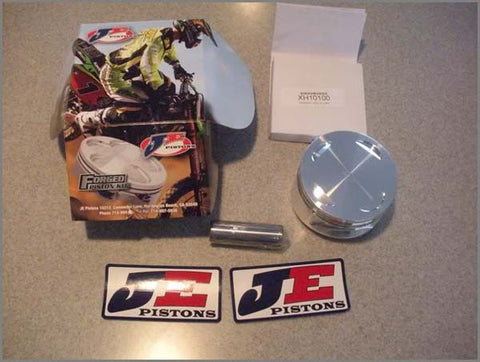
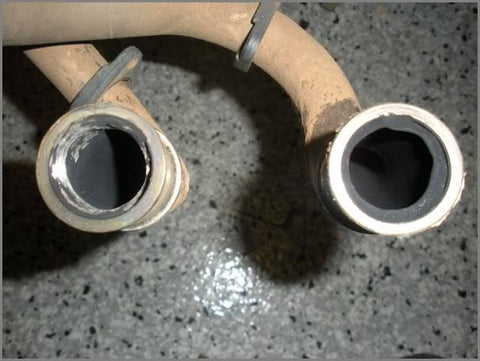
Also, if you have an XR, be aware that the factory welds inside the headpipe are absurdly sloppy - and restrictive. It is cheap horsepower to grind them, you can see the before and after here:
In addition, I replaced the clutch steel plates, friction plates, and springs. All bottom end bearings - ALL OF THEM - were replaced. Transmission gears were inspected, and all good. I had cracked the CDI housing by stepping on it, so I replaced that too.
Prior to teardown, I checked the sag, finding it to be way off. Rear race sag was 105mm, while while front was 67mm. Both are supposed to be about 90mm, especially important on this bike because it only has 10" of wheel travel. This means that the bike was sagging in the rear, and raking out the front. I ordered up some softer fork springs, and a stiffer shock spring. As one last detail, I got a steel braided brake line and a set of OE CRF-X pads to make them stronger. Then, I brought this truck bed full of bike and parts to Matt. He reassembled the motor, revalved the forks, put everything together, and gave me back this little gem: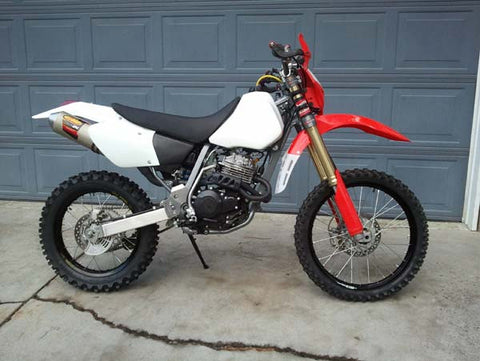

One of the best feelings we moto people can have is a new bike. I say that building, tweaking, massaging, and most of all, learning about, every part of the machine may be even better. I liked the bike before....but now I was absolutely giddy over this newest iteration. Best of all, I became familiar with every part of the machine. Here are a few detail pics: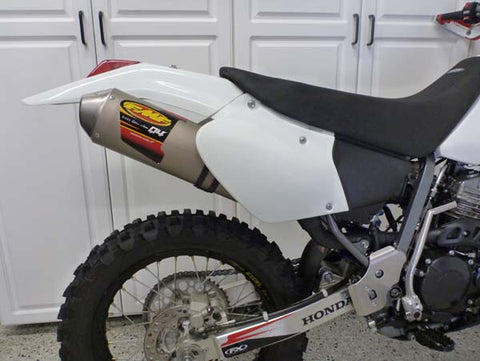
(damper post temporarily missing, to facilitate checking oil more easily):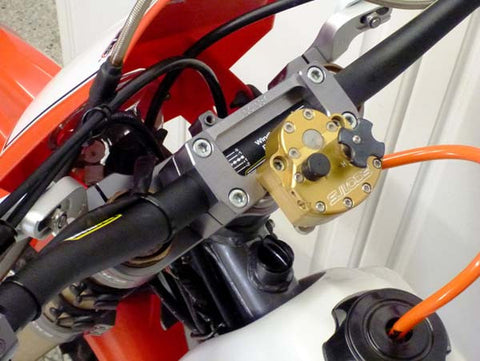
New spring, frame guards, etc.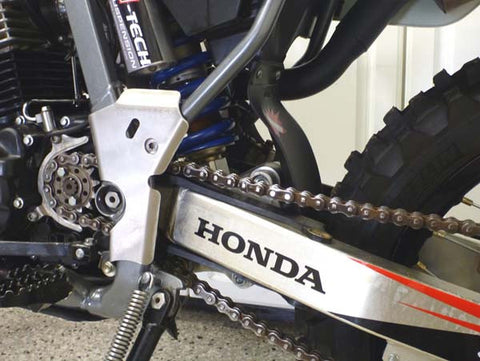
CeraKoated cases.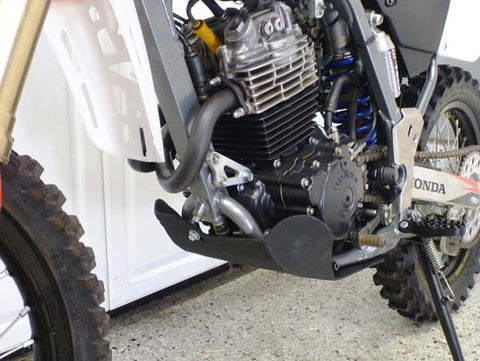
Exhaust is CeraKoated, and kickstart lever was rebuilt.
Polisport headlight, CRF forks and fender, and Acerbis Rally 3 guards. Note that guards use triple clamp mounts.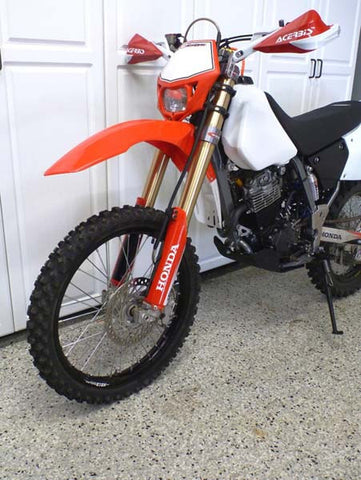
Before: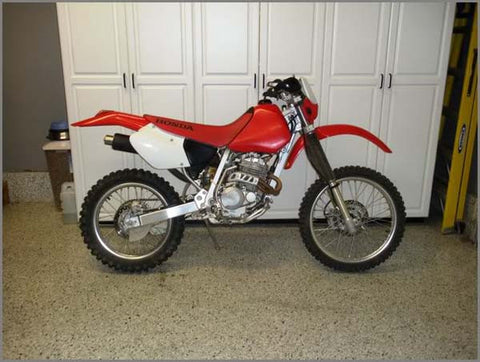
After: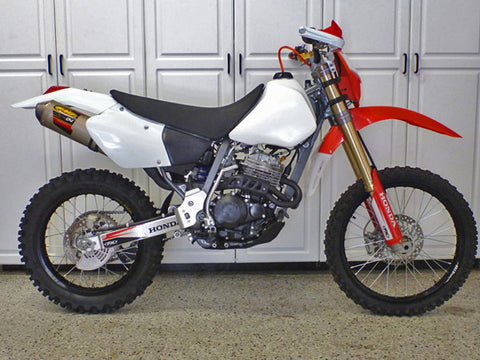
The bike has only been out on easy break-in rides, but initial impressions are great. 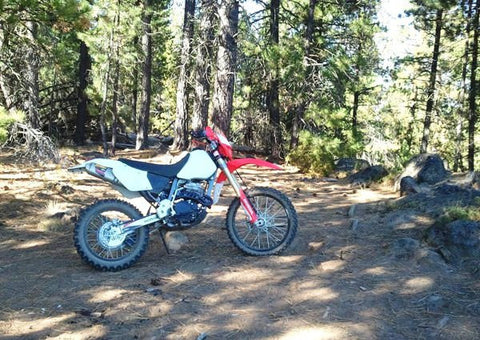
The bike has more snap than before (valves?), and the suspension is much more balanced. Brakes are stronger too. The short wheelbase and easy power continue to make the bike a lot of fun and little work in the woods. There is still one last mod to work out, the addition of a Mikuni 34mm flat slide carb. The stock carb really limits the bike, whereas the open bore of flat slides add power at the top. It also makes the power spread longer. Additionally, they don't flood when the bike falls over.
A lot of people point out, often with some condescension, that I could have just bought something finished. I recognize this, it is obvious. However, I like to take stuff apart, examine it, understand it, and put it back together. At various points along the process, I too, wondered what I was thinking. But this one was a lot of fun, and I am glad I did it.
Thanks for reading.
BP
- Brian Price
